
One of the features of Microsoft Office 365 is the Video feature. The feature allows the College to have its own private online Video store, very much like a private YouTube.
Because these videos are store on the Internet, in Office 365, they can be accessed and watched on most devices, including the College ChromeBooks.
This help guide will be split into two section, viewing content on Office 365 Video, and uploading content to Office 365 Video.
Viewing Office 365 Videos
1. From the Office 365 menu, select the VIDEO tile.

2. An initial welcome screen may appear, but you’ll then be shown the Office 365 Video homepage. This shows a list of the most commonly watched videos in our Video library.

3. The library is split up into Channels. Each channel will represent a different subject. Click on a channel to view all of the videos in that channel.

4. All of the videos in that channel are shown.

5. To watch a video, simply click on the video you wish to watch.

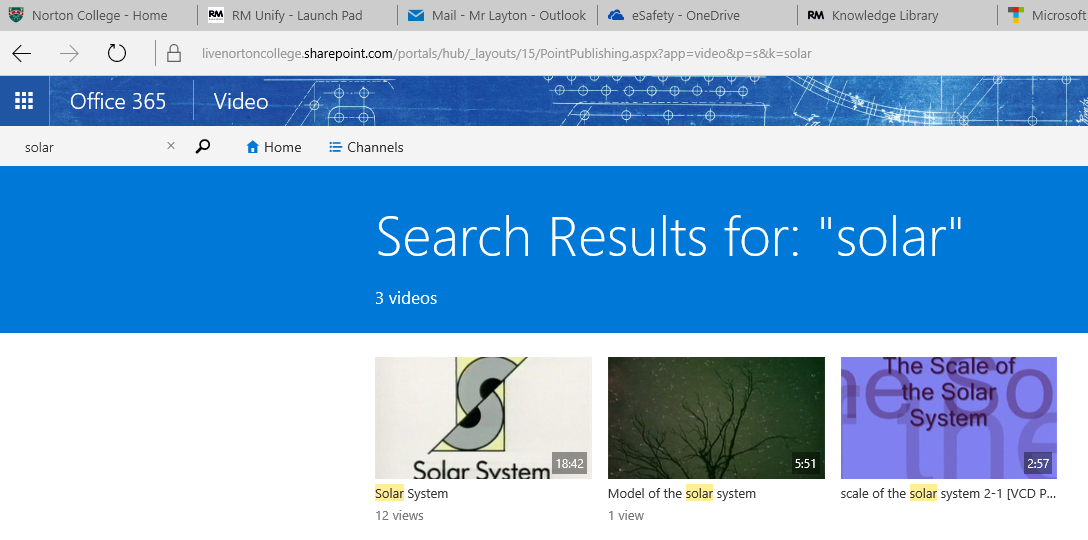
6. It’s possible to search for a video based upon its name, either searching the whole Video collection, or just in a specific channel. To do this, simply click on the magnifying glass in the top left corner to open up the search box, type what you’re looking for and then click on the magnifying glass again. The results of your search are listed.
Uploading Contact to Office 365 Video.
Coming soon….

