
The College printing system has the ability to take a paper based document, scan it and convert it to a editable Word document. This post explains how to do this.
1. First, logon to one of the floor standing printers (not the table standing devices in the IT Suites). From the first menu, select SCAN.

2. From the SCAN menu, select MY FOLDER. While all three options allow you to scan, this is only option that offers the ability to scan to Word. Scan to MY FOLDER saves the scanned document to your network My Documents folder.

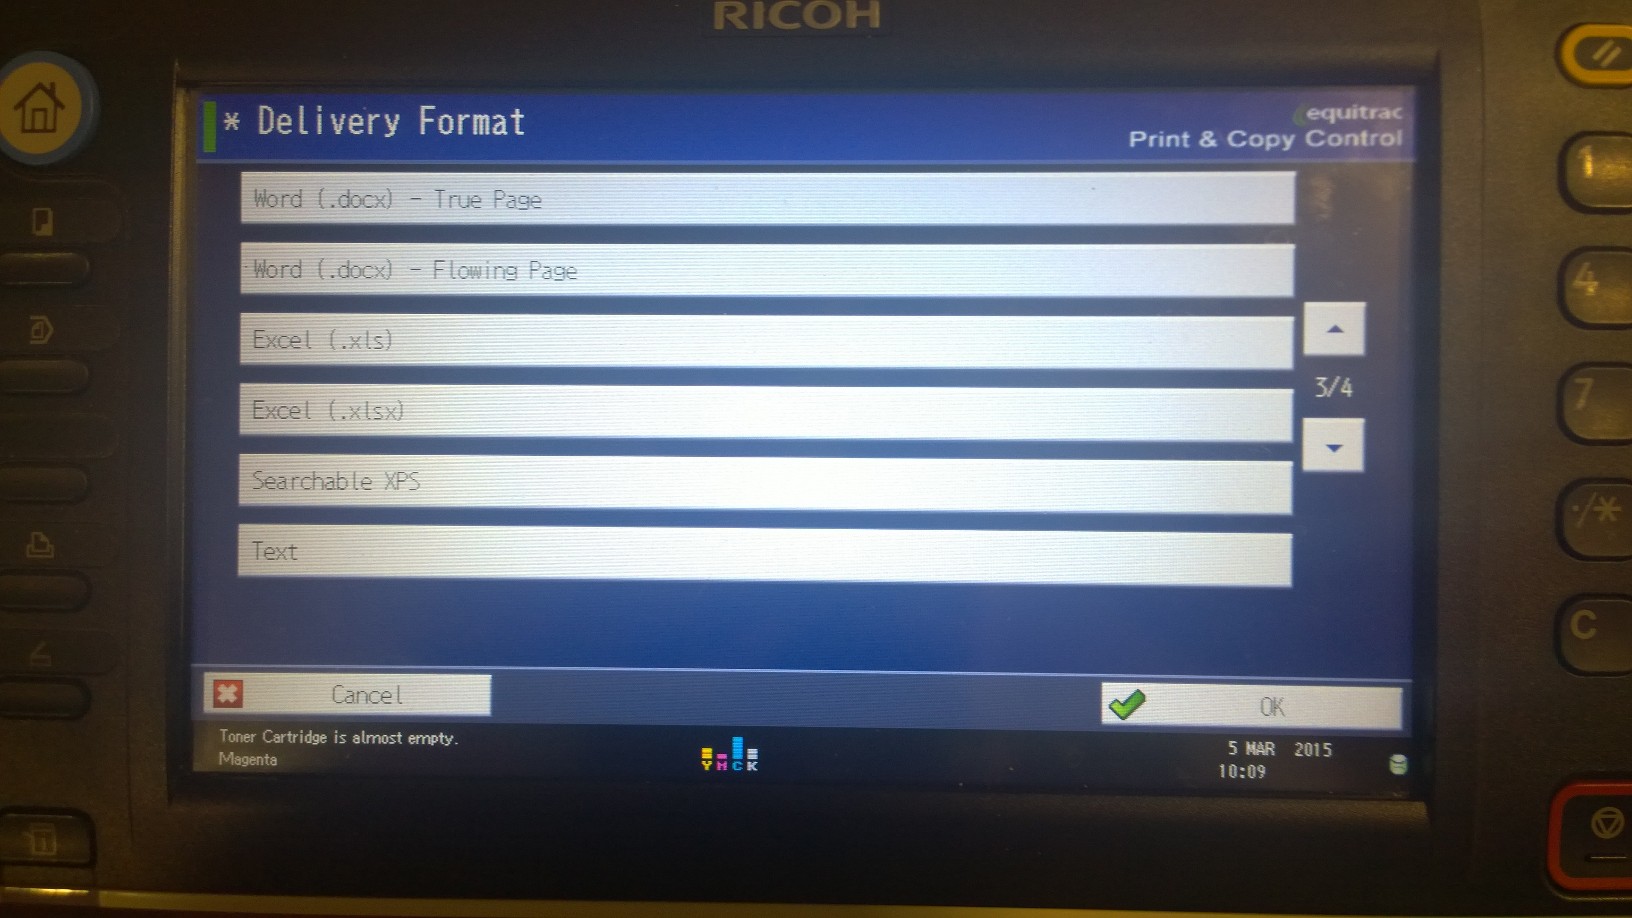
3. Tap on the DELIVERY FORMAT button to change from the default .PDF format.

4. As you’ll see, there are a number of formats you can choose to use. For this exercise, locate and select WORD (.DOCX) – TRUE PAGE on page 3, then press OK.
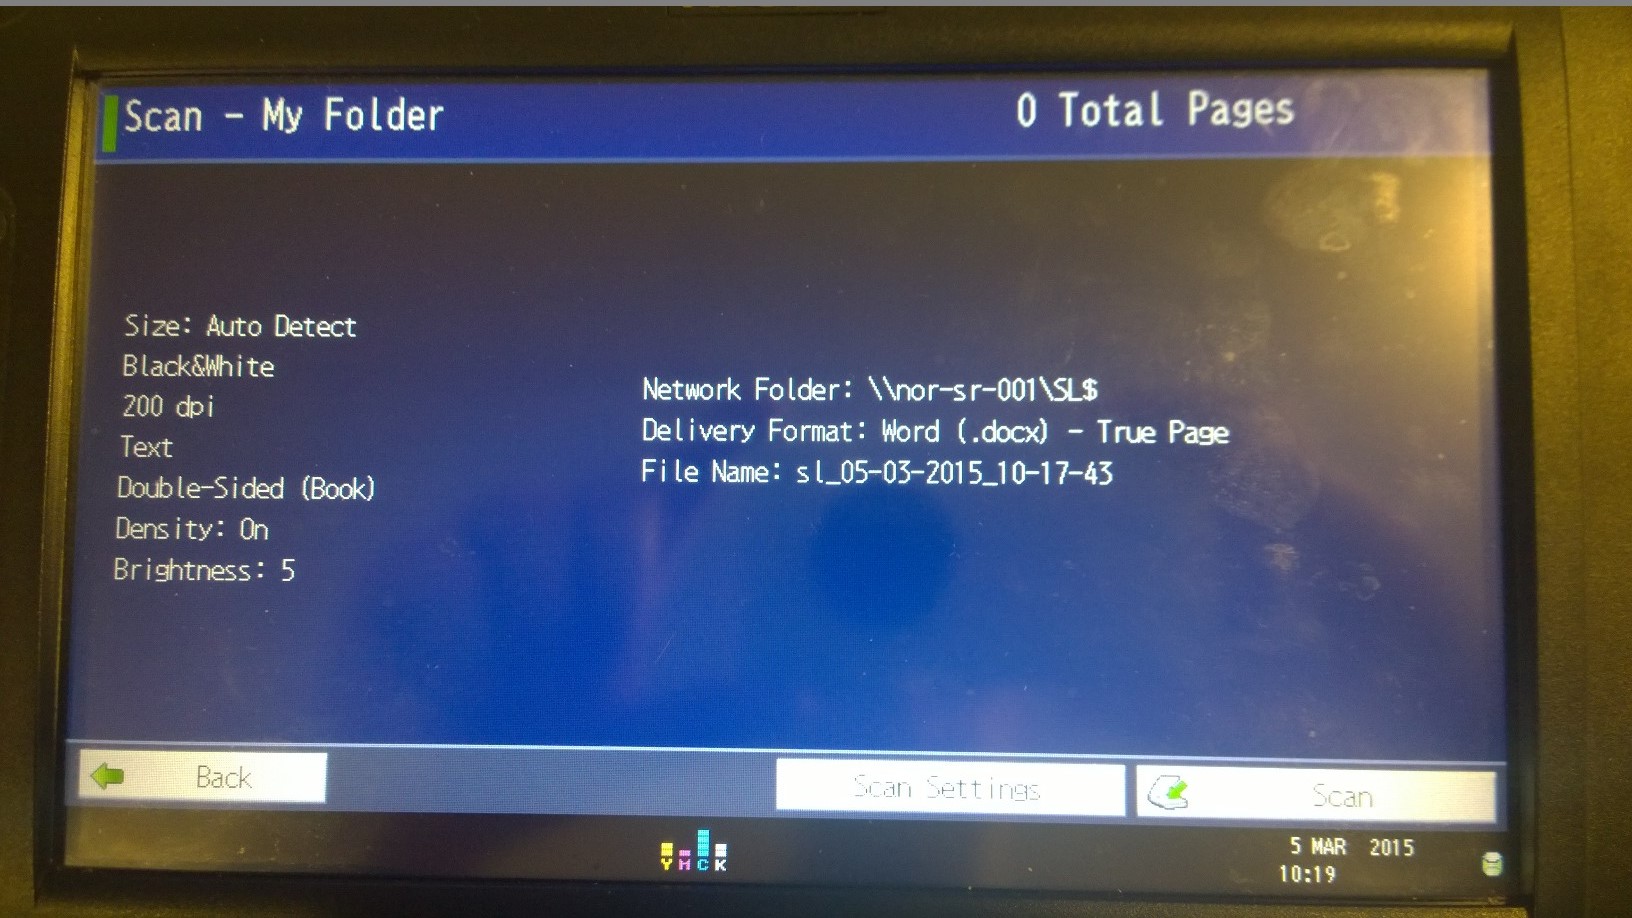
5. Your Delivery Format is confirmed. Press NEXT to continue.

6. As with any scanning, don’t forget to tap SCAN SETTINGS to scan, as the default is to scan in mono and at a low resolution.
7. Change from TYPE (BLACK & WHITE) to TYPE (FULL COLOUR) and change RESOLUTION (200DPI) to RESOLUTION 400DPI). These settings are a good balance between quality and file size. Press DONE to be taken back to the previous menu.

8. Press the SCAN button to have your paper document scanned and converted to an editable Word Document which is now saved in your My Documents folder. Don’t forget to log off the copier!